Facebook Twitter Instagram Pinterest YouTube
    Trending
    • Add Kodi to RetroPie Menu
    • Disable Auto-login in Raspberry Pi OS
    • Raspberry Pi Cloud Storage with MEGA
    • RetroPie Temperature Monitor from Menu
    • Pi Pico Pinout and Power Pins
    • Install Arduino IDE on Raspberry Pi
    • Raspberry Pi 400 SSD Upgrade
    • Raspberry Pi Temperature Monitoring
    Facebook Twitter Instagram Pinterest YouTube RSS
    Raspberry Pi SpyRaspberry Pi Spy
    • Home
    • Categories
      • General
      • Hardware
      • Programming
      • Python
      • Software
      • Tutorials & Help
    • BerryClip
      • BerryClip Instructions
      • BerryClip Plus Instructions
      • Videos & Reviews
    • Buy
      • Buy Pi
      • Buy Pi Accessories
      • Buy Books
    • Tools
      • Ultimate Raspberry Pi Alexa Skill
      • Pi Power Estimator App
      • Pi-Lite 14×9 LED Matrix Sprite Editor
      • RPiREF Pin-out Reference App
      • Simple Ohm’s Law Calculator
      • Web Sites & Links
    • Tutorials & Help
        Featured
        November 9, 20200

        Raspberry Pi Temperature Monitoring

        Recent
        May 6, 2022

        Add Kodi to RetroPie Menu

        February 26, 2022

        Disable Auto-login in Raspberry Pi OS

        February 2, 2022

        Raspberry Pi Cloud Storage with MEGA

      1. Contact Us
      2. Site Map
      Raspberry Pi SpyRaspberry Pi Spy
      You are at:Home»Hardware»Camera Module»PiPan Pan And Tilt Mechanism For Raspberry Pi Camera
      PiPan #01

      PiPan Pan And Tilt Mechanism For Raspberry Pi Camera

      5
      By Matt on September 15, 2013 Camera Module, Hardware

      PiPan #05
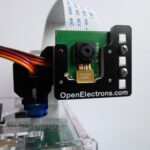
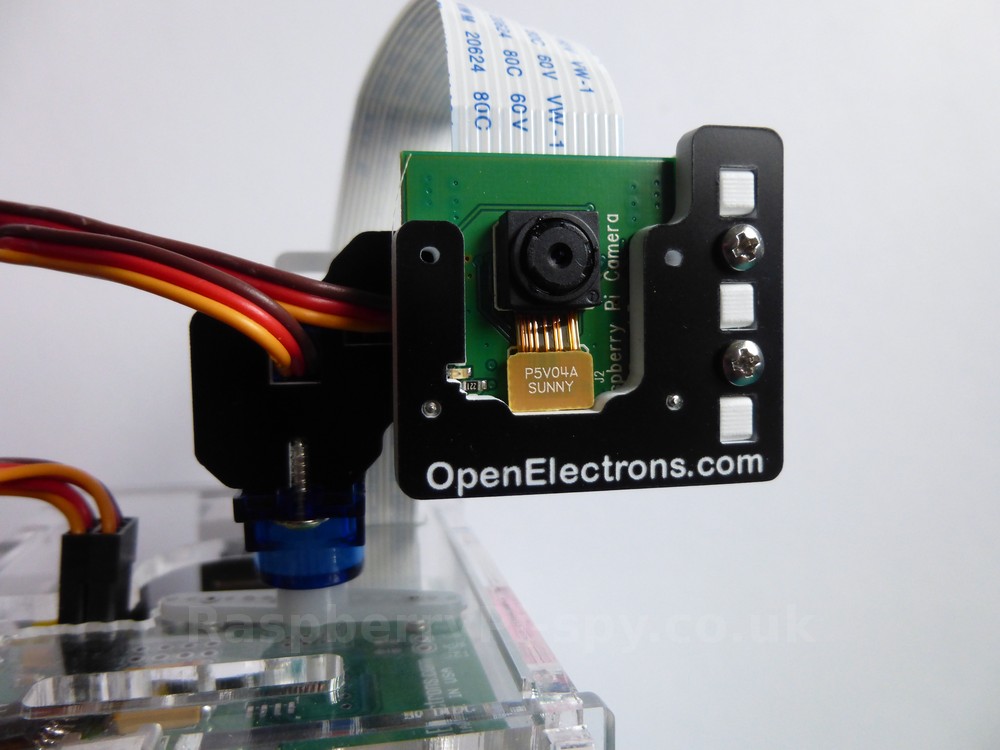
The OpenElectrons “PiPan” is a pan and tilt mechanism for the Raspberry Pi Camera Module. I’ve used the Pi camera in a few projects but this is the first bit of commercial Pi camera hardware I’ve had the chance to play with.

      The project was successfully funded on Kickstarter on 11th September 2013.

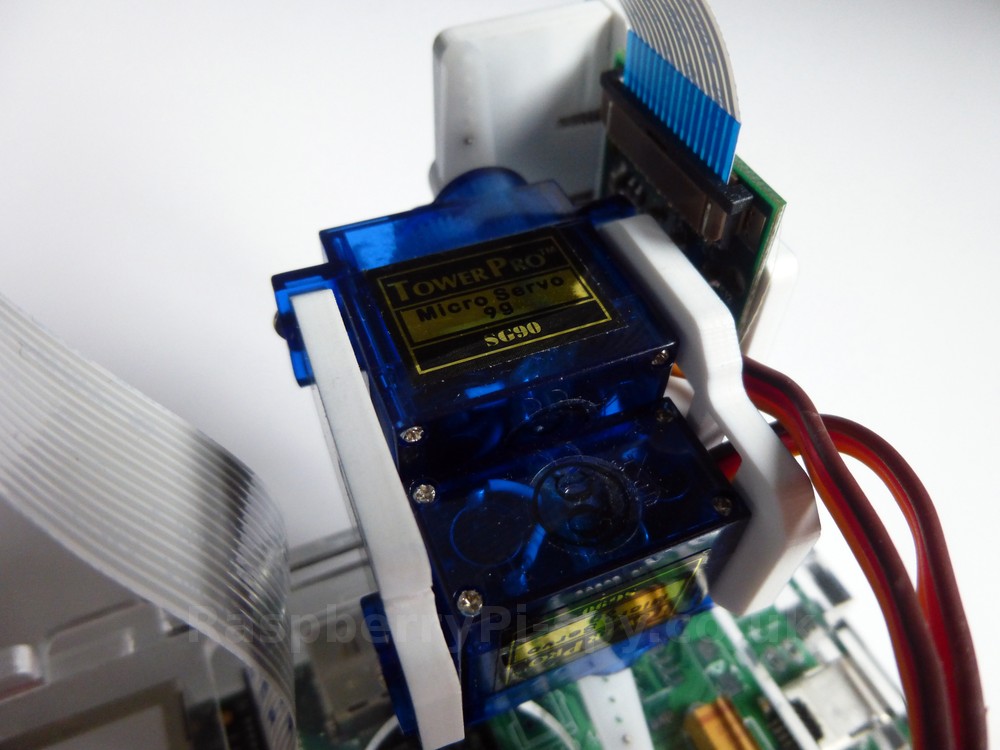
      It consists of a kit which when assembled allows you to move your camera in both horizontal and vertical directions. To achieve this is uses two small servos and a control board which can be controlled using Python. It can pan 180 degrees (from left to right) and tilt 110 degrees (top to bottom) although I haven’t been able to test this yet.

      PiPan #01
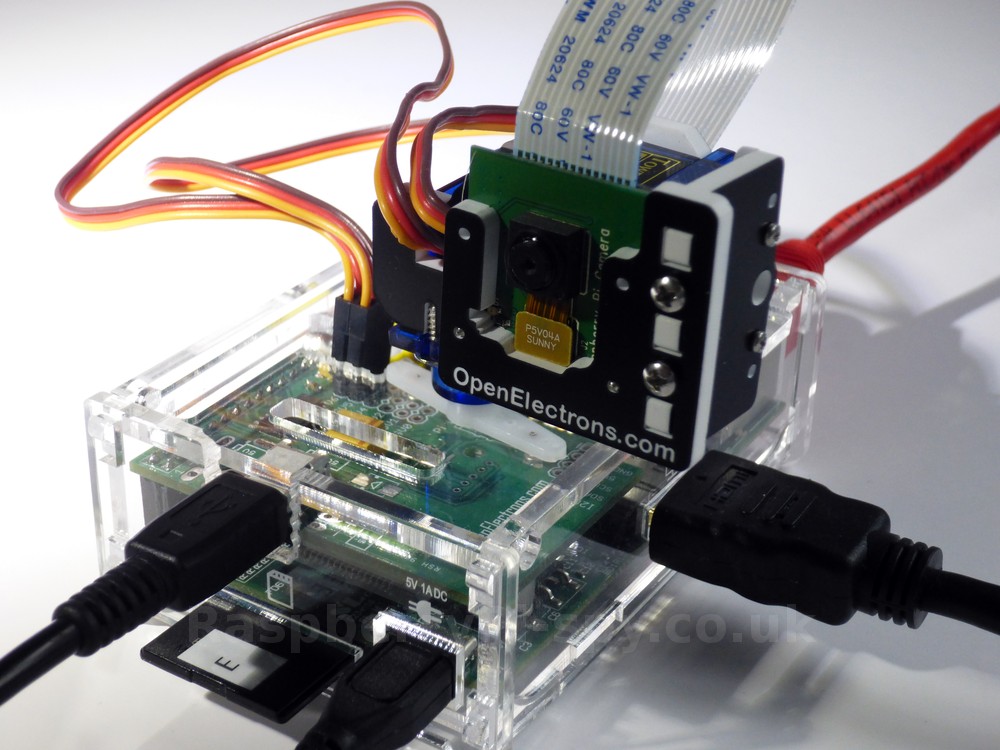
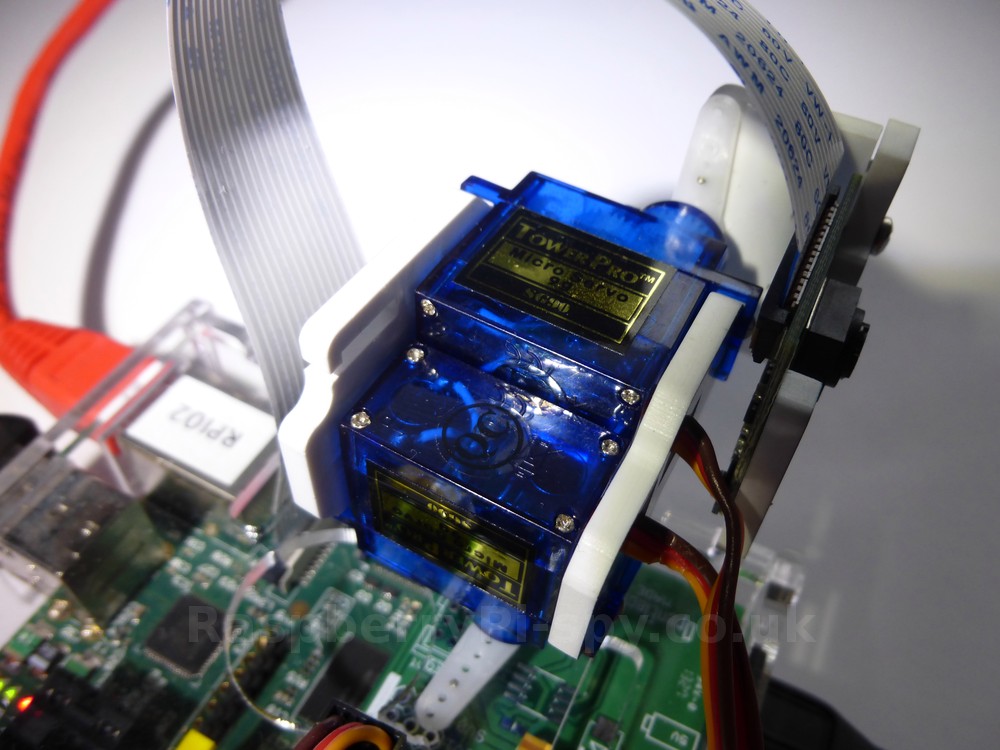
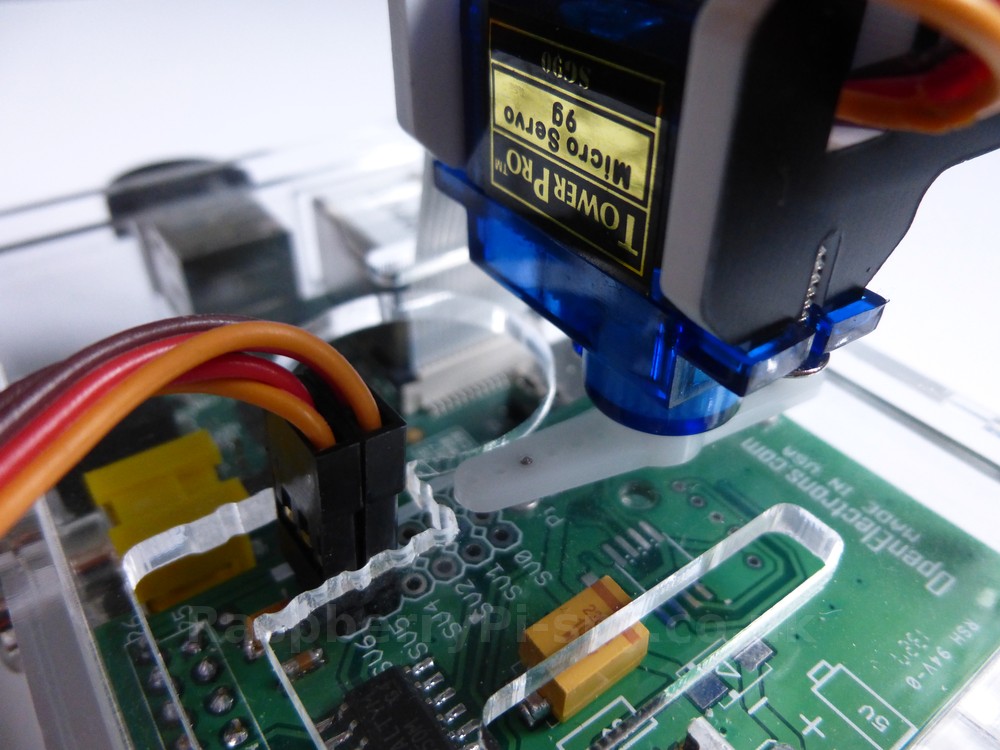
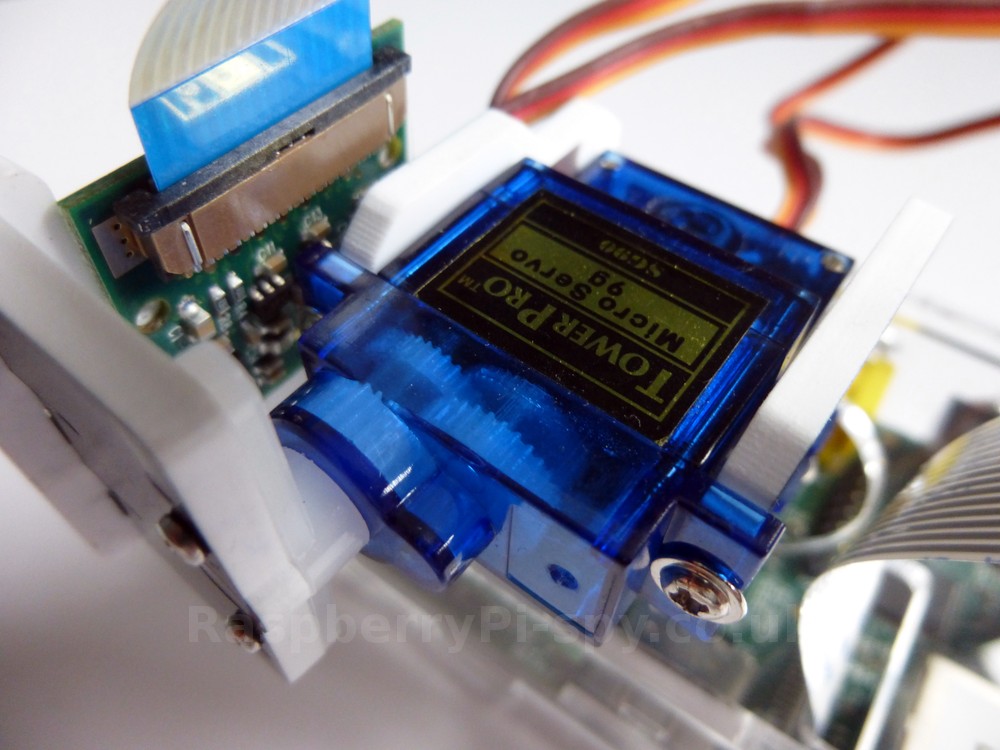
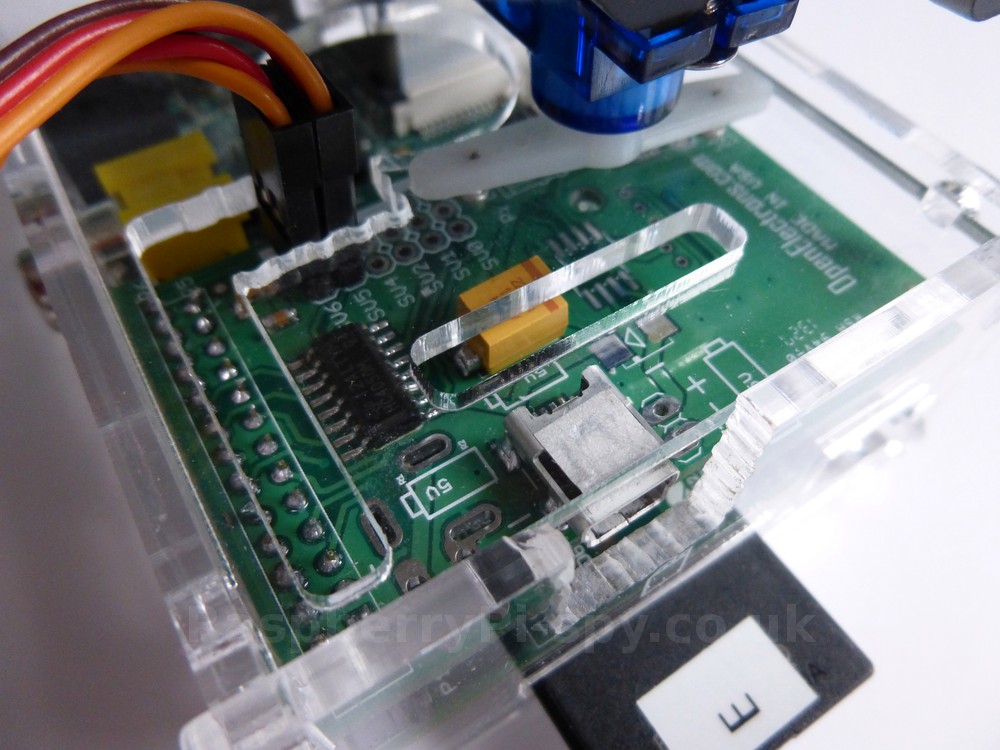
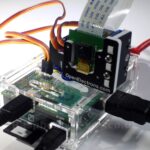
I mounted my PiPan on a standard perspex Pi case with the screws supplied with the servos. The control board plugs directly on the Pi’s GPIO header and can be seen inside the case.

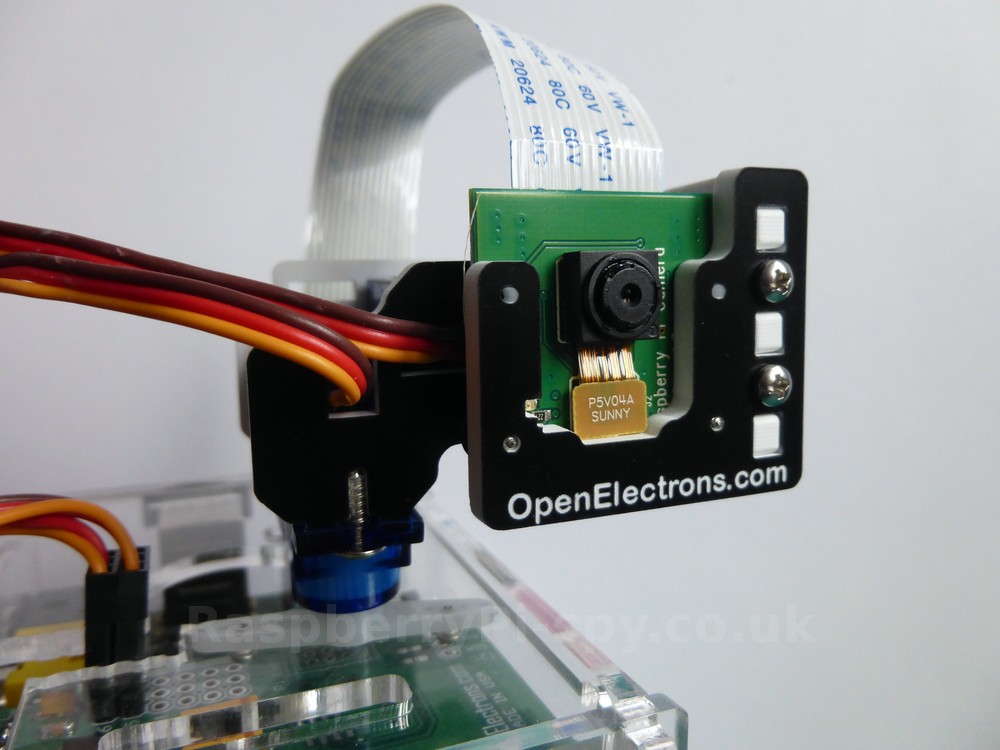
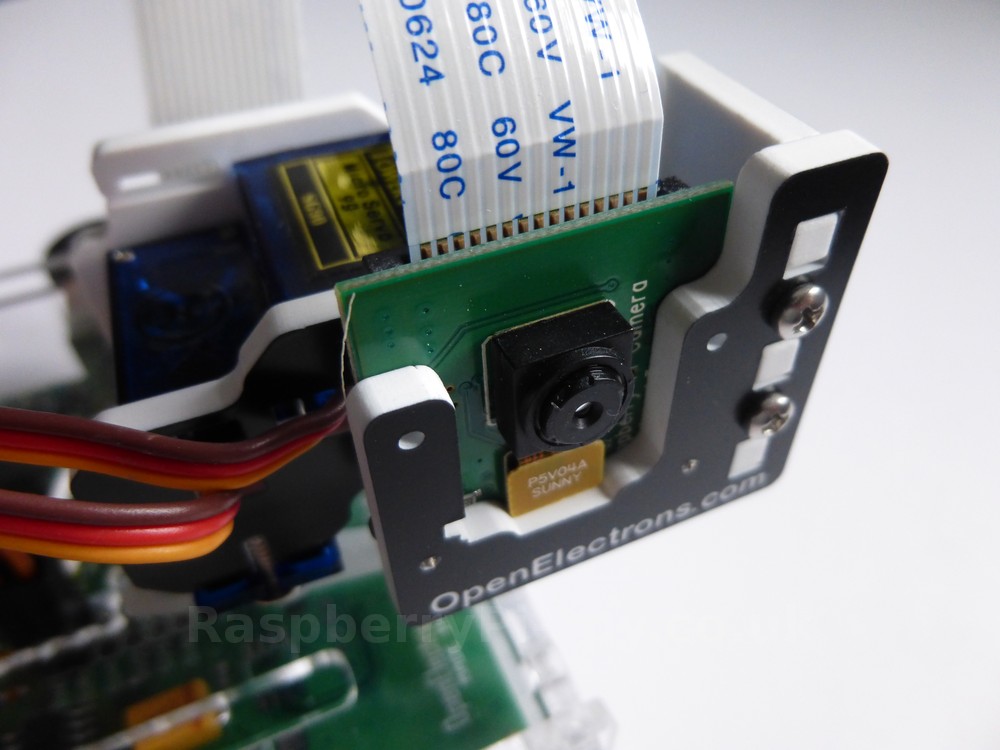
      The biggest challenge is mounting the unit on a stable platform while ensuring the range of movement isn’t restricted by the camera’s ribbon cable.

      The Python interface is fairly easy to get started with and it only takes a few lines to initialise the servos and send them to a specified position. Using a modified version of one of the supplied example Python scripts I ran the PiPan through a short sequence of moves which you can see in the following video :

      The kit is a beta design and there are a few tweaks expected for the retail version. This will include improvements in both the supplied hardware and software.

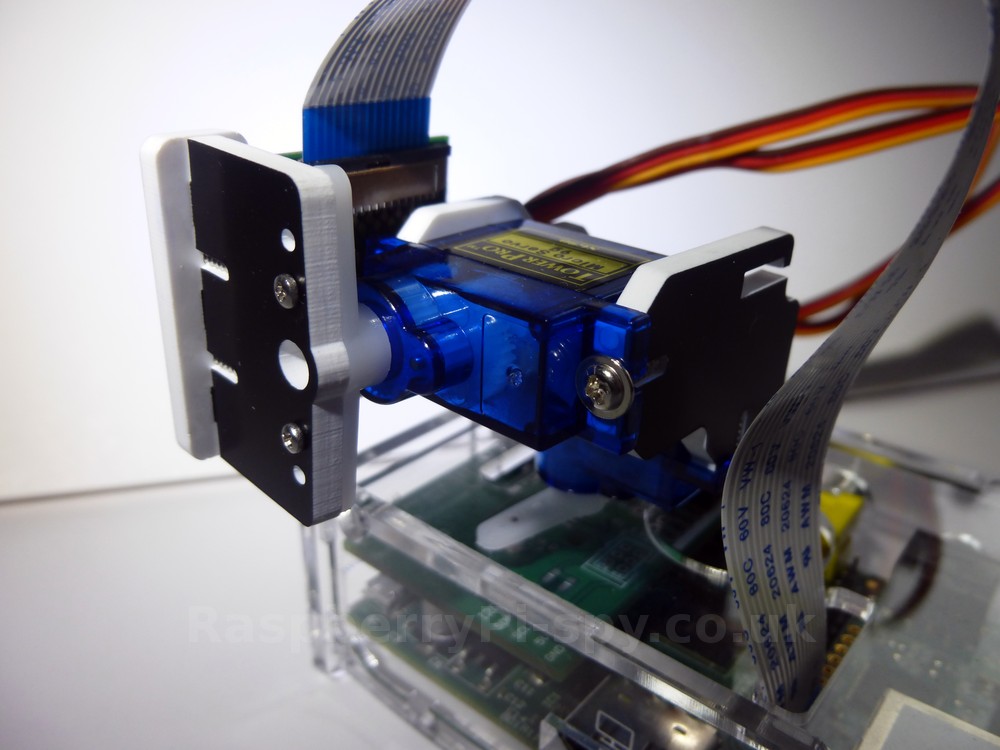
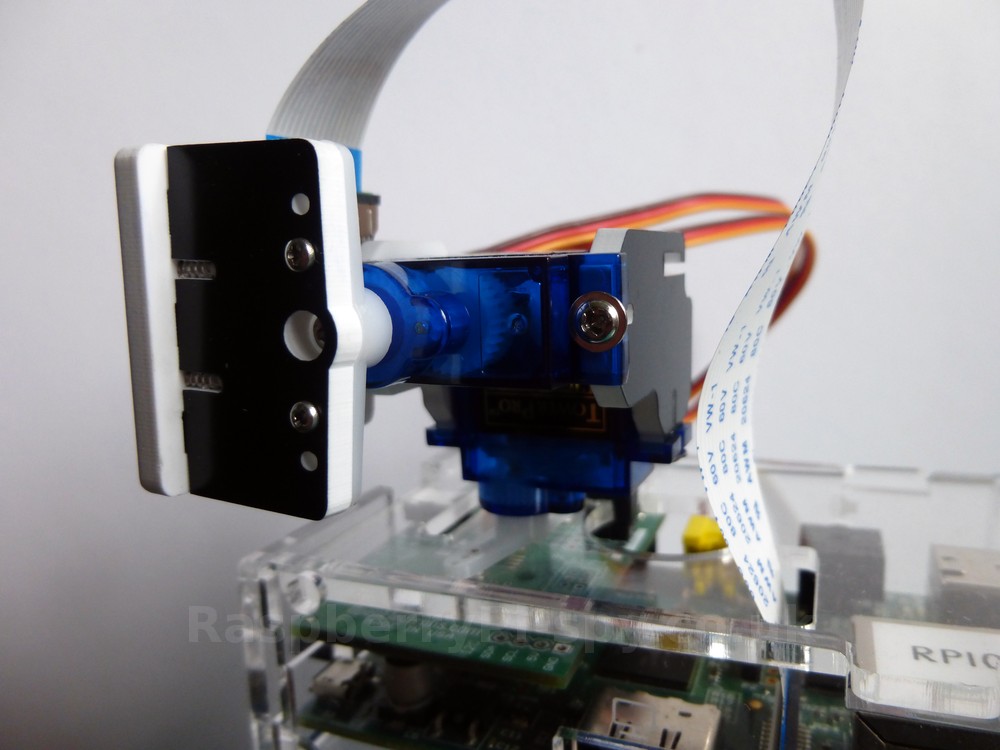
      Here are some additional photos of my PiPan :

      PiPan #01
      PiPan #06
      PiPan #04
      PiPan #05
      PiPan #02
      PiPan #03
      PiPan #07
      PiPan #08
      PiPan #09
      PiPan #10
      PiPan #11
      PiPan #12
      Share. Facebook Twitter Pinterest LinkedIn Tumblr Email
      Previous ArticleHow To Connect The Perixx Bluetooth Keyboard To The Raspberry Pi
      Next Article Cambridge Raspberry Jam – September 2013

      Related Posts

      Pi Pico Pinout and Power Pins

      Raspberry Pi 400 SSD Upgrade

      Raspberry Pi 400 Launched

      5 Comments

      1. Zak on September 20, 2013 4:09 pm

        Thanks for sharing this, very interested in this.

        Reply
      2. Hillel on December 9, 2013 5:01 am

        There must be a better way of rotating the Pi’s camera around a point much closer to it’s nodal point. Stitching the resulting pictures with the PiPan will be nearly impossible for shots with close elements. Are there any different servo configurations you support?

        Reply
      3. rik on March 21, 2014 4:30 am

        Nice build. It might be a good idea to fix the cam and then tilt and pan the whole raspberry pi case and then the ribbon can stay still. I am trying to do the same thing with the piface card but still too new to motor control. Here is the command that I use for streaming video to VLC on a windows machine after opening port 5900 on the router… sudo raspivid -o – -t 0 -hf -w 800 -h 400 -fps 24 | cvlc -vvv stream:///dev/stdin –sout ‘#standard{access=http,mux=ts,dst=:5900}’ :demux=h264

        Reply
        • Matt on March 21, 2014 4:06 pm

          The problem with moving the Pi is the power cable gets in the way and it’s much heavier than the camera module. You would need bigger servos to cope with the weight.

          Reply
      4. Brian Ragle on November 24, 2014 1:08 pm

        I’d like to adapt this for something a bit bigger, such as a dSLR, and in combination with another RPi project involving a time-lapse slider and intervalometer system (eg. https://sites.google.com/site/raspilapse/home). The buildout would basically just involve bigger motors, but the same programming and GPIO, right?

        Reply

      Leave A Reply Cancel Reply

      This site uses Akismet to reduce spam. Learn how your comment data is processed.

      Recent Posts
      May 6, 2022

      Add Kodi to RetroPie Menu

      February 26, 2022

      Disable Auto-login in Raspberry Pi OS

      February 2, 2022

      Raspberry Pi Cloud Storage with MEGA

      January 7, 2022

      RetroPie Temperature Monitor from Menu

      January 24, 2021

      Pi Pico Pinout and Power Pins

      Categories
      • 1-wire
      • 3D Printing
      • Add-ons
      • BBC Micro:bit
      • BerryClip
      • Books
      • Camera Module
      • Cases
      • Events
      • General
      • Hardware
      • I2C
      • Infographics
      • Interfaces
      • Minecraft
      • Model A+
      • Model B+
      • News
      • Pi Models
      • Pi Zero
      • Power
      • Programming
      • Python
      • Raspberry Pi OS
      • Raspbian
      • RetroGaming
      • Robotics
      • Sensors
      • Software
      • SPI
      • Tutorials & Help
      Tags
      3D Printing Arduino audio battery berryclip Birthday bluetooth cambridge camera CamJam DigiMakers display games GPIO I2C interface Kickstarter LCD LED Linux media Minecraft Model A Model B motionEyeOS PCB photography photos Pi-Lite portable power python Raspberry Jam Raspberry Pi Bootcamp raspbian Retrogaming retroPie screen SD card security sensor SPI temperature ultrasonic video
      Raspberry PI Related
      • Adafruit Blog
      • Average Maker
      • Official RaspBerry Pi Site
      • Raspberry Pi Pod
      • RasPi.tv
      • RaspTut
      • Stuff About Code
      Tech Resources
      • MattsBits – Pi Resources
      • Microbit Spy
      • Technology Spy
      Archives
      About

      Unofficial site devoted to the Raspberry Pi credit card sized computer offering tutorials, guides, resources,scripts and downloads. We hope to help everyone get the most out of their Pi by providing clear, simple articles on configuring, programming and operating it.

      Popular Posts
      September 19, 2014

      Top 5 Reasons The Raspberry Pi Sucks

      July 27, 2012

      16×2 LCD Module Control Using Python

      October 20, 2013

      Analogue Sensors On The Raspberry Pi Using An MCP3008

      Recent Posts
      May 6, 2022

      Add Kodi to RetroPie Menu

      February 26, 2022

      Disable Auto-login in Raspberry Pi OS

      February 2, 2022

      Raspberry Pi Cloud Storage with MEGA

      Facebook Twitter Instagram Pinterest YouTube RSS

      Entries RSS | Comments RSS

      This site is not associated with the official Raspberrypi.org site or the Raspberry Pi Foundation. Raspberry Pi is a trademark of the Raspberry Pi Foundation.

      Copyright © 2022 - All Rights Reserved - Matt Hawkins

      Type above and press Enter to search. Press Esc to cancel.