
The RetroPie SSH interface is disabled by default. Follow this quick tutorial to enable SSH in RetroPie and allow remote connections. SSH is a great way to add new ROMs to your retro gaming system and edit Gamelist XML files.
Assuming you have a network enabled RetroPie system running enabling SSH should only take a few minutes.
Step 1 – Run Raspi-Config Utility
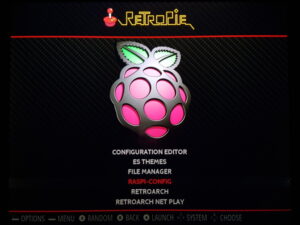
From the main RetroPie screen navigate to the “RetroPie” system :
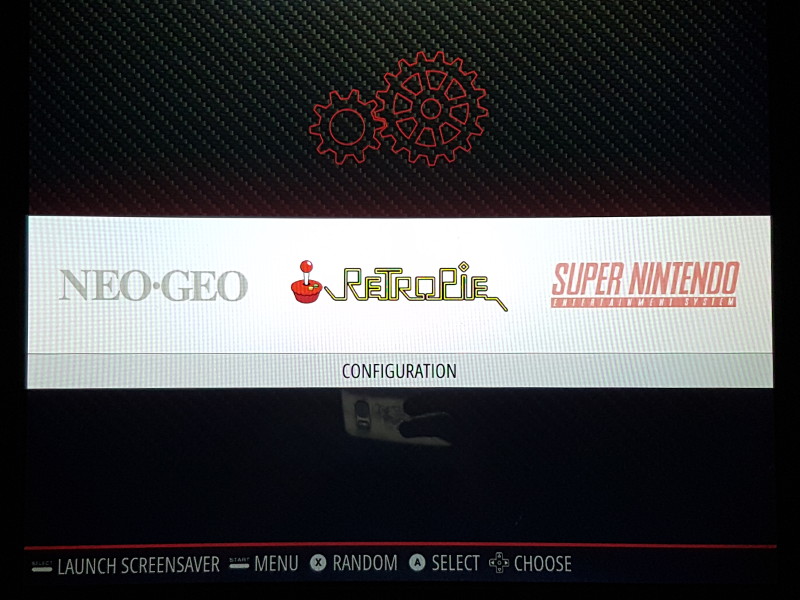
From here select the “Raspi-Config” utility :
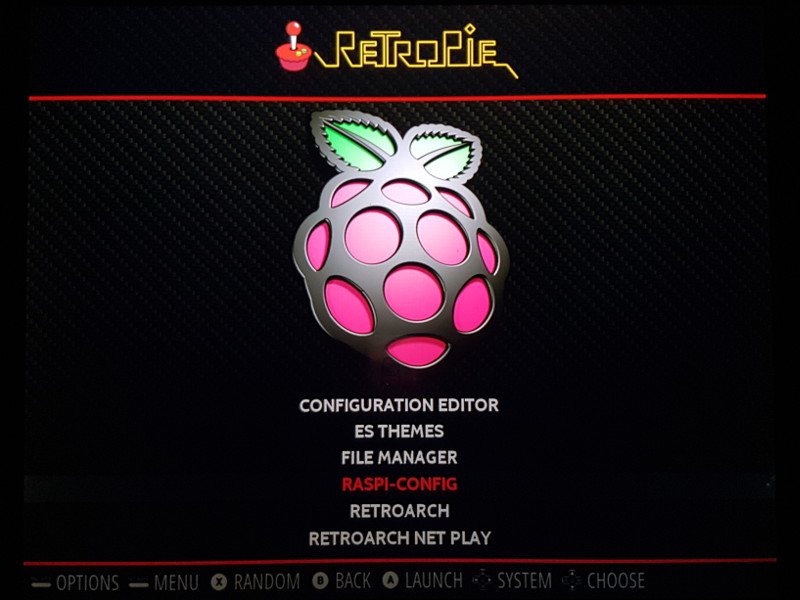
This will launch the standard “Raspi-Config” utility that you may have already used on the Pi.
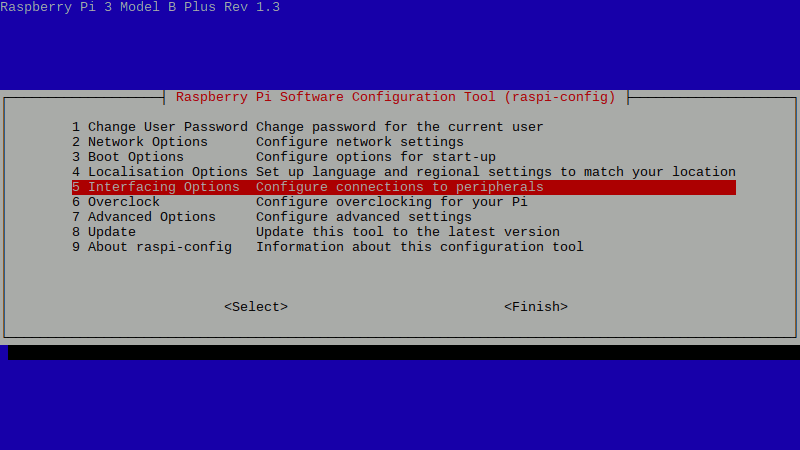
Use the Up/Down controls to select “Interfacing Options”. Use the Right control to highlight <Select> and the B button to activate :
Select “SSH” :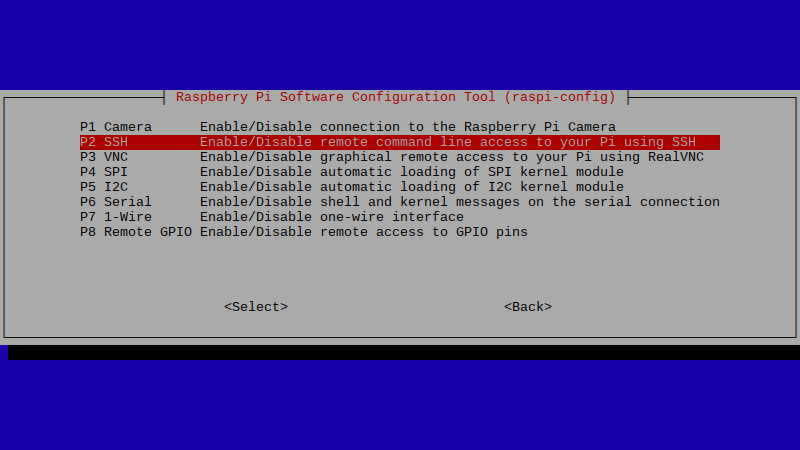
Select “Yes” :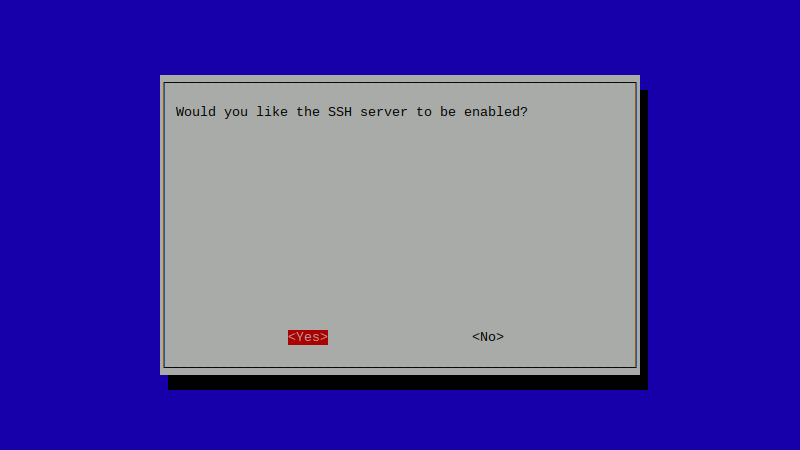
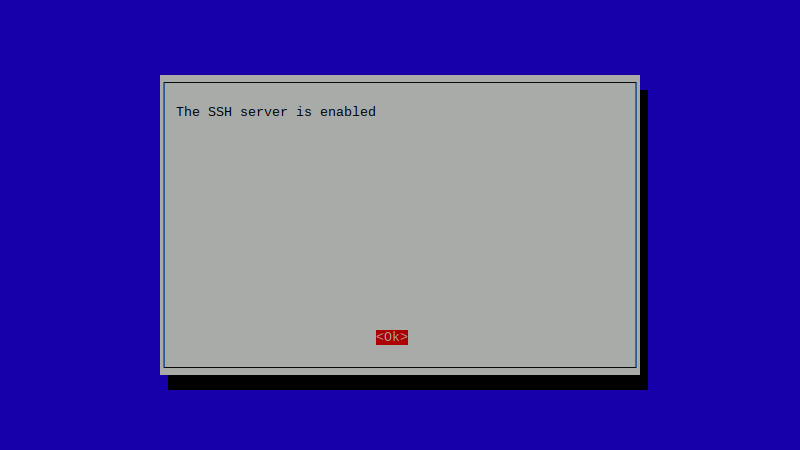
Select “OK” :
Use the <Right> control to select “Finish” :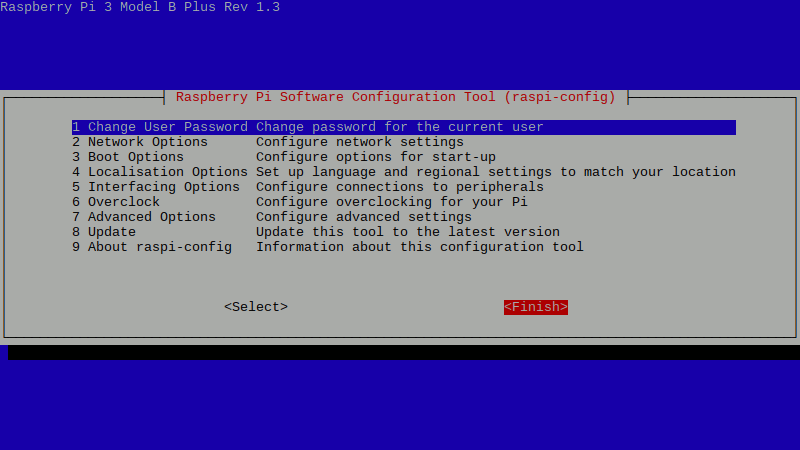
You will be returned to the RetroPie interface.
Step 2 – Reboot RetroPie
RetroPie SSH has been enabled but for the changes to take effect you will need to reboot your RetroPie system.
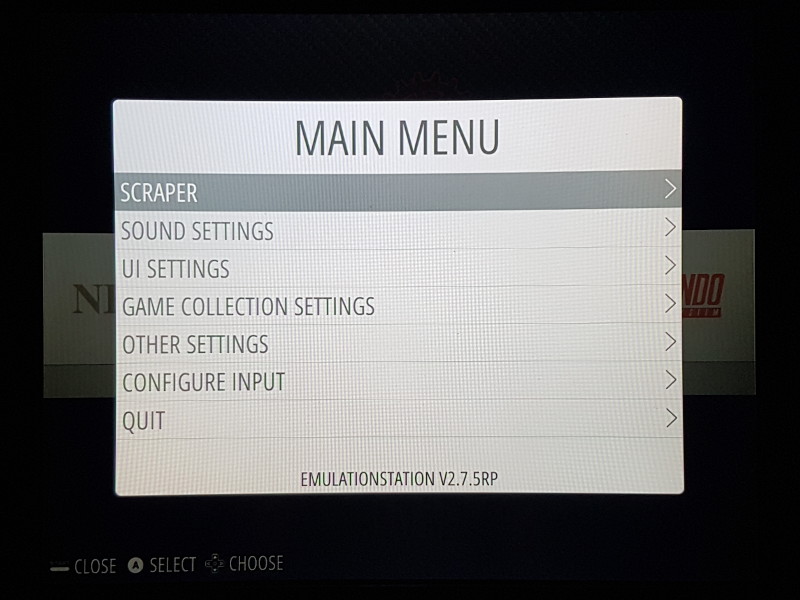
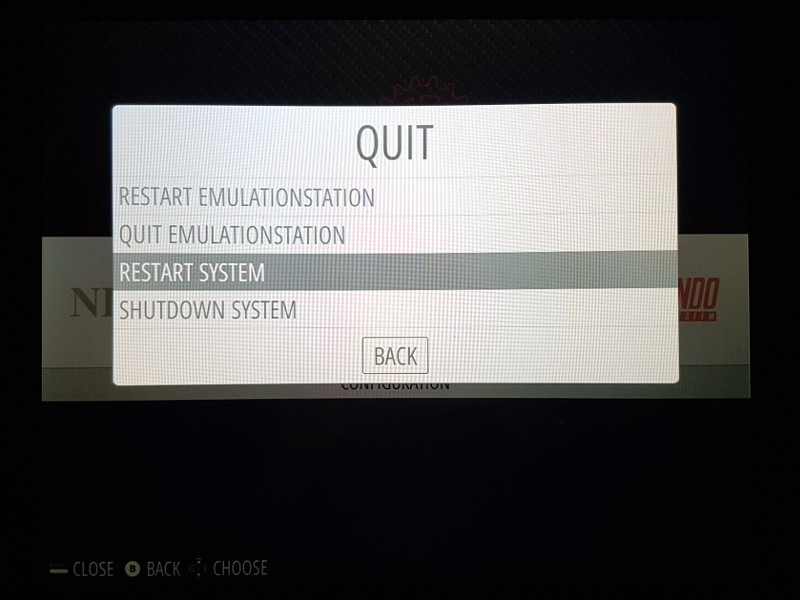
Press the “Start” button on your controller to bring up the RetroPie system menu and select “Quit” :
Select “Restart System” from the next menu :
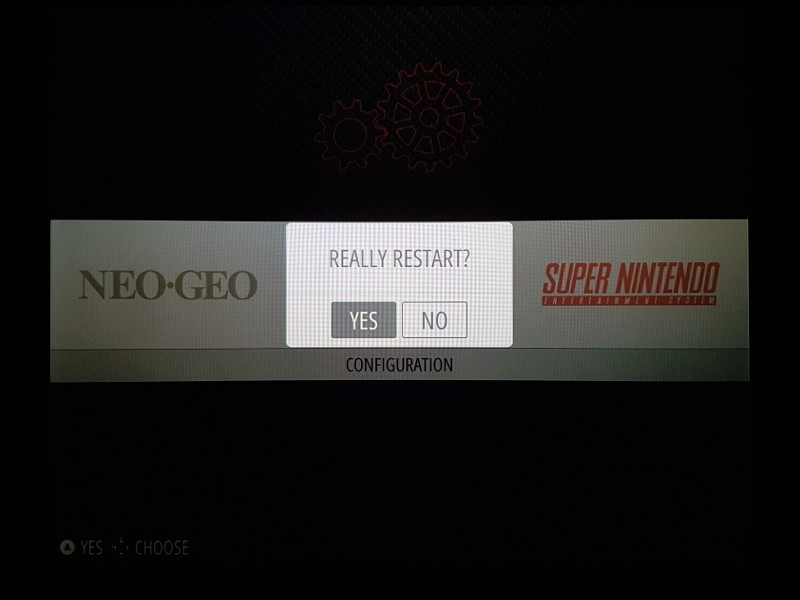
Answer “YES” to the “Really Restart?” confirmation :
SSH will be enabled and ready for use once the system has rebooted. If you haven’t changed it the default username/password will be pi/raspberry.
Step 3 – Getting the Raspberry Pi IP Address
It’s easy to find the IP address of your RetroPie system.
Simply launch the RetroPie Configuration page as you did in Step 1. Then scroll down and select “Show IP”.
This IP address can then be used in your SSH tool to access the system from your laptop or PC.
I tend to use the free MobaXterm client to access my Pi systems via SSH. Putty is another popular choice for Windows users.
Finally, the popularity of the Pi means it is important to change the default password. You can do this using “passwd” on the command-line or via the Raspi-Config utility. It is very similar to the normal process of changing the Pi’s password as explained in my How to Change the Raspberry Pi Password tutorial.