
Setting up Pi cloud storage with MEGA is really useful as it means your project files can be safely backed up automatically. You also have the benefit of accessing those files from other devices via a web browser. This can speed up swapping data between devices and reduce the messing about with USB drives and network shares.
MEGA is a popular cloud storage provider and they properly support Linux, Windows and MacOS, unlike some of their competitors. Their Desktop app “MEGAsync” works great on the Pi and is really easy to setup.
Step 1: Sign-up to MEGA
To use the MEGA storage space on your Pi you will need a MEGA account. This is free to setup. There are various paid for plans which give you lots of additional space and features but the free account gives you 20GB which is plenty to get started.
- Visit the MEGA site
- Click “Create Account”
- Enter your details and choose a good password using a password generator
- Click “Create Account”
Wait for the email confirmation to arrive in your inbox.
- Click the link in the email to confirm your email.
- Enter your password when prompted.
- Choose your account type. You may need to scroll down for the “Get started for free” option.
Your account will now be setup. You may be asked to select some initial setup questions. If you are given the option of “downloading a recovery key” I would highly recommend doing so.
I know at this point you want to get on with the guide but it worth spending 5 minutes securing the password and recovery key for future use! Store them in a safe place preferably not on a computer but on a USB stick or CD/DVD. Without the password or recovery key you will potentially lose access to your data.
Step 2: Download MEGAsync Package
The first step in setuping up MEGAsync on the Pi is to download the correct package. To download the MEGAsync package to your Raspberry Pi OS desktop:
- Visit the MEGA Desktop App website.
- Under the Platforms menu select “MEGA Desktop App”.
- Click the “Linux” icon.
- Select “Raspbian 10 (Buster)” and “32-bit”.

- Click “Download”.
- Click “Keep” if you get a “This type of file can harm your computer” warning.
This will download the latest megasync-########.deb file to your default downloads directory. The download directory is usually /home/pi/Downloads.
Step 3: Install MEGAsync Package
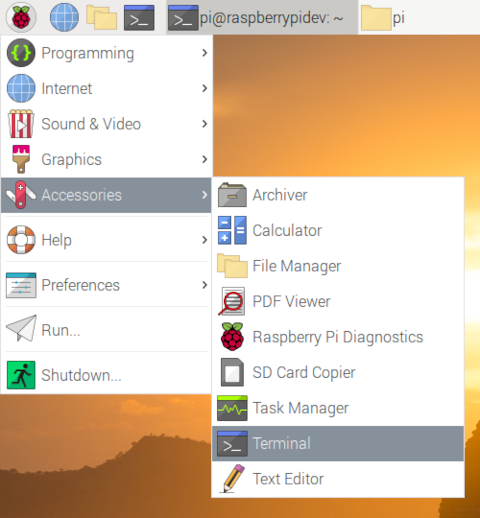
Open a Terminal window either using the main Raspberry Menu or the Terminal icon in the top left corner:
Type:
cd ~/Downloadsthen:
lsThis should navigate to the Downloads directory and list the contents. You should see the downloaded megasync deb file.
Install MEGAsync using the following command:
sudo apt install ./megasync-Raspbian_10.0_armhf.debWhen prompted type Y to proceed with the installation.
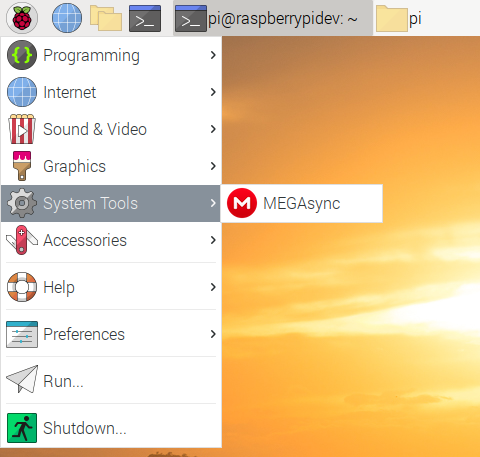
When the process is finished you will now have a MEGAsync entry under “System Tools” in the main menu.
You can right click on this entry to add an icon to the desktop.
Step 4: Run MEGAsync
To finish the setup we can now run the desktop app.
- Double click on the MEGAsync Desktop Icon or the menu option.
- Click “Login”
- Enter your username and password
- Choose “install type”
“Full Sync” will sync the entire contents of your MEGA storage space to the Pi.
I would recommend “Selective sync” as it will allow you to choose specific folders to sync to this Pi.
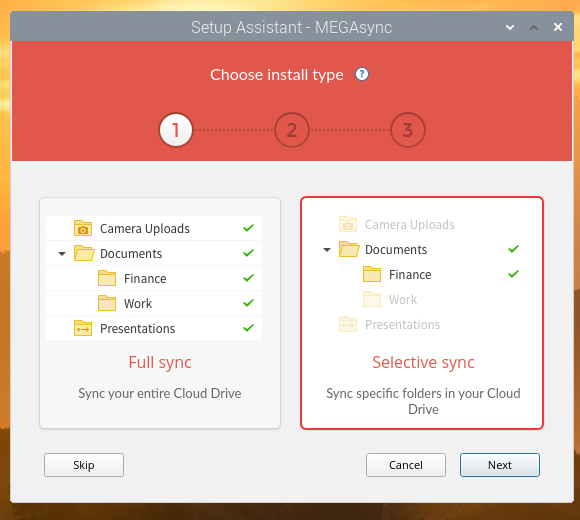
Click “Next”.
Leave the local folder as “/home/pi/MEGAsync”.
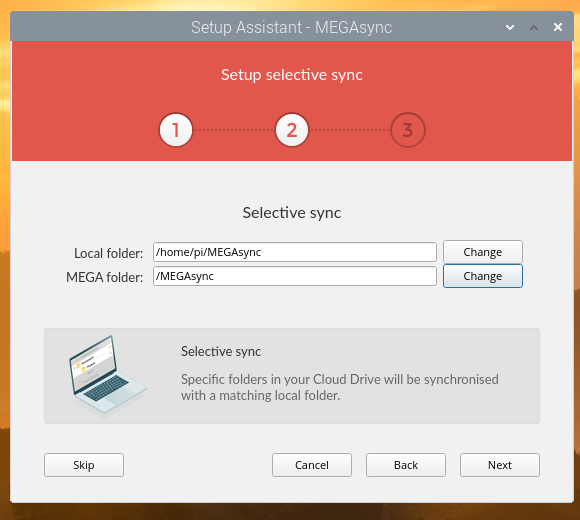
If you want to setup a specific folder for this Pi within your account press “Change” next to the “MEGA folder” option. You can then create a new folder under the “Cloud Drive” parent using the “New Folder” button. I created a folder for my Pi called “Pi Dev”.
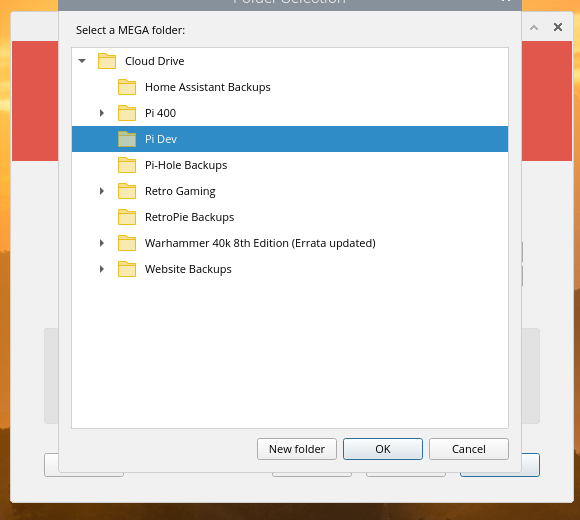
So my “MEGA folder” became “/Pi Dev”.
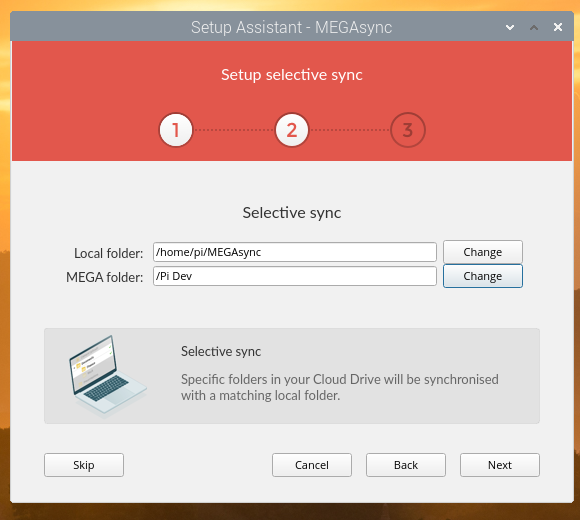
Click “Next”
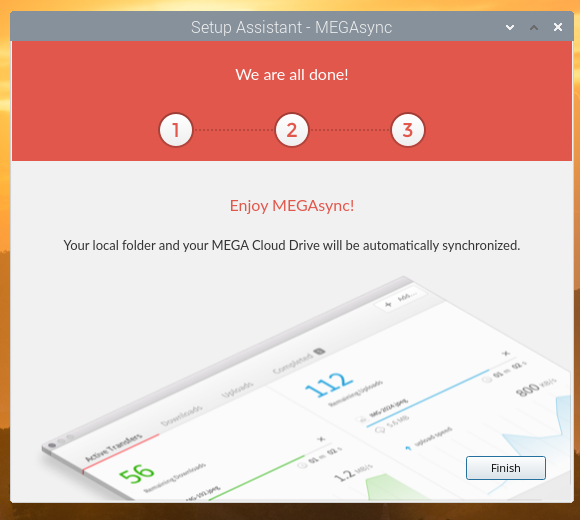
Click “Finish”
We are done!
Step 5: Upload and Sync Files from the Pi to MEGA
There are a number of ways to get files into your MEGA account and have then sync to your Pi:
Copy, move or create files in /home/pi/MEGAsync and these will be copied to the folder you specified in Step 4.
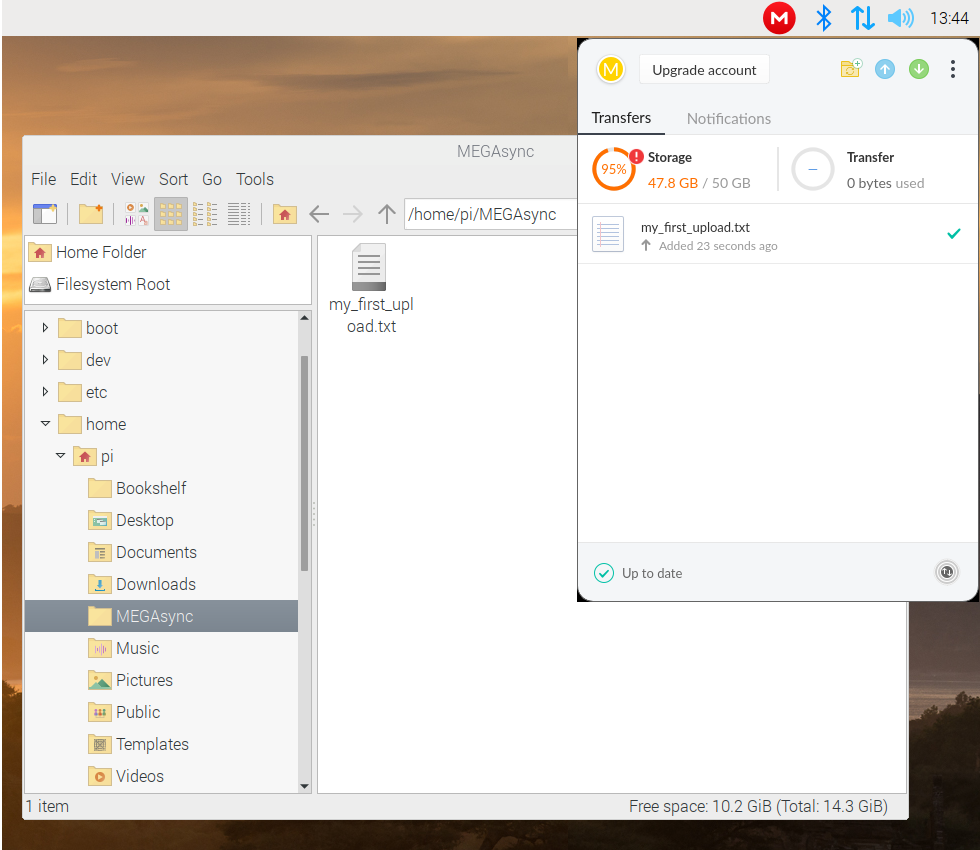
Or you can
- right click on the MEGA icon on the taskbar and select “Show Status”
- click the “Upload” icon (blue arrow)
Selective Sync
The reason I prefer to use the “Selective Sync” in Step 4 is that I can have an individual folder for each of my Raspberry Pi devices within the MEGA cloud. I can then use the account for other non-Pi related storage and keep things separate. For example I have folders for “Pi 400” and “Pi Dev” as well as my Lenovo laptop. Before I reimage these devices I can shove all the important stuff in the MEGAsync folder and resync it all back when I rebuild the SD card.
One Folder to Rule Them All,
The other useful trick is to create an “All” folder in your MEGA account. This can be used to share files with all devices.
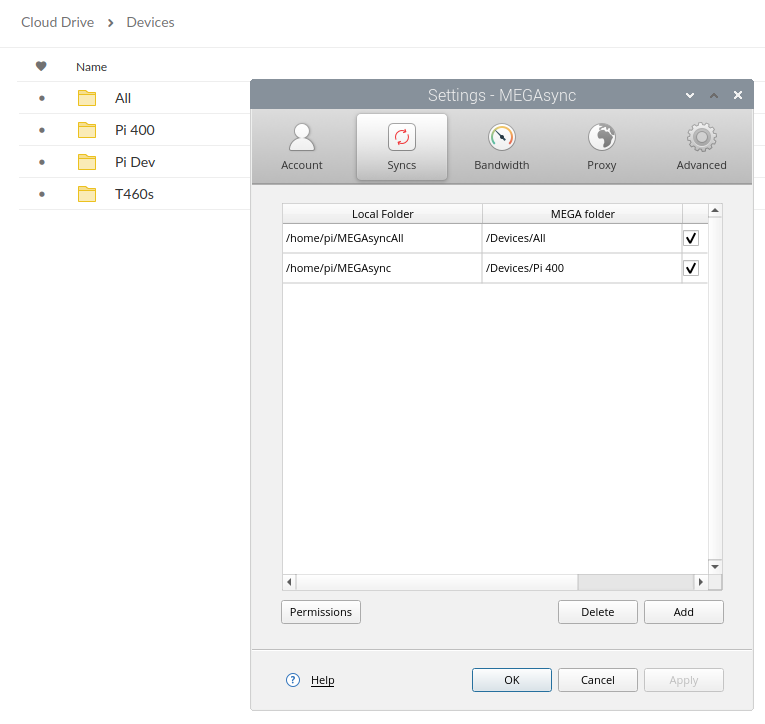
Create the “All” folder in your MEGA cloud and on the Pi open the MEGAsync settings. Under the “Syncs” page you can click “Add” to add another “local folder” and “MEGA folder” pair.
So in the example below the Pi synchronises files between “MEGAsync” and “Pi 400” as well as “MEGAsync” and “All”.
Add the “All” folder sync to other devices and when you copy a file to “All” it will be synchronised to all devices.
Now your Pi Cloud Storage solution is setup you can start uploading files. Within the MEGA web interface you can share files or folders with other users. It’s a great way to share content especially large files that would be too big to email.
Storage Space
The free MEGA account gives you 20GB of storage space. Paid plans from £4 ($5) give you 400GB. If you can make use of the space this isn’t a bad price at all.
Affiliate Links
The links to MEGA in this post are affiliate links. This makes no difference to you when signing up to a free account but we get a commission if you go on to subscribe to a package. We have no connection to MEGA other than we subscribe to their service and think it is the best Pi Cloud Storage solution.